OddCameras.com
Recesky DIY Camera
The
Recesky DIY Camera is a toy TLR camera for 135 film, produced in China and sold as a DIY kit.
It is similar to the Gakkenflex. The camera uses 35mm film in
portrait mode. It's a cheap plastic gadget with a plastic meniscus
lens, single speed shutter and only one aperture.
My camera came as a German Advent calendar. The only difference to the
Recesy kit seems to be the missing branding on the viewer lid. If you
want to see the steps building it, they are here.
Specifications:
Lens: Plastic f/6 or f/11 (only one aperture), 50 cm to infinity
Shutter: mechanical leaf shutter, ~ 1/125 (no B setting)
Viewfinder: waist-level reflex, focussing on matte screen
Weight: 310 g
Some photos of my camera:
Camera closed.
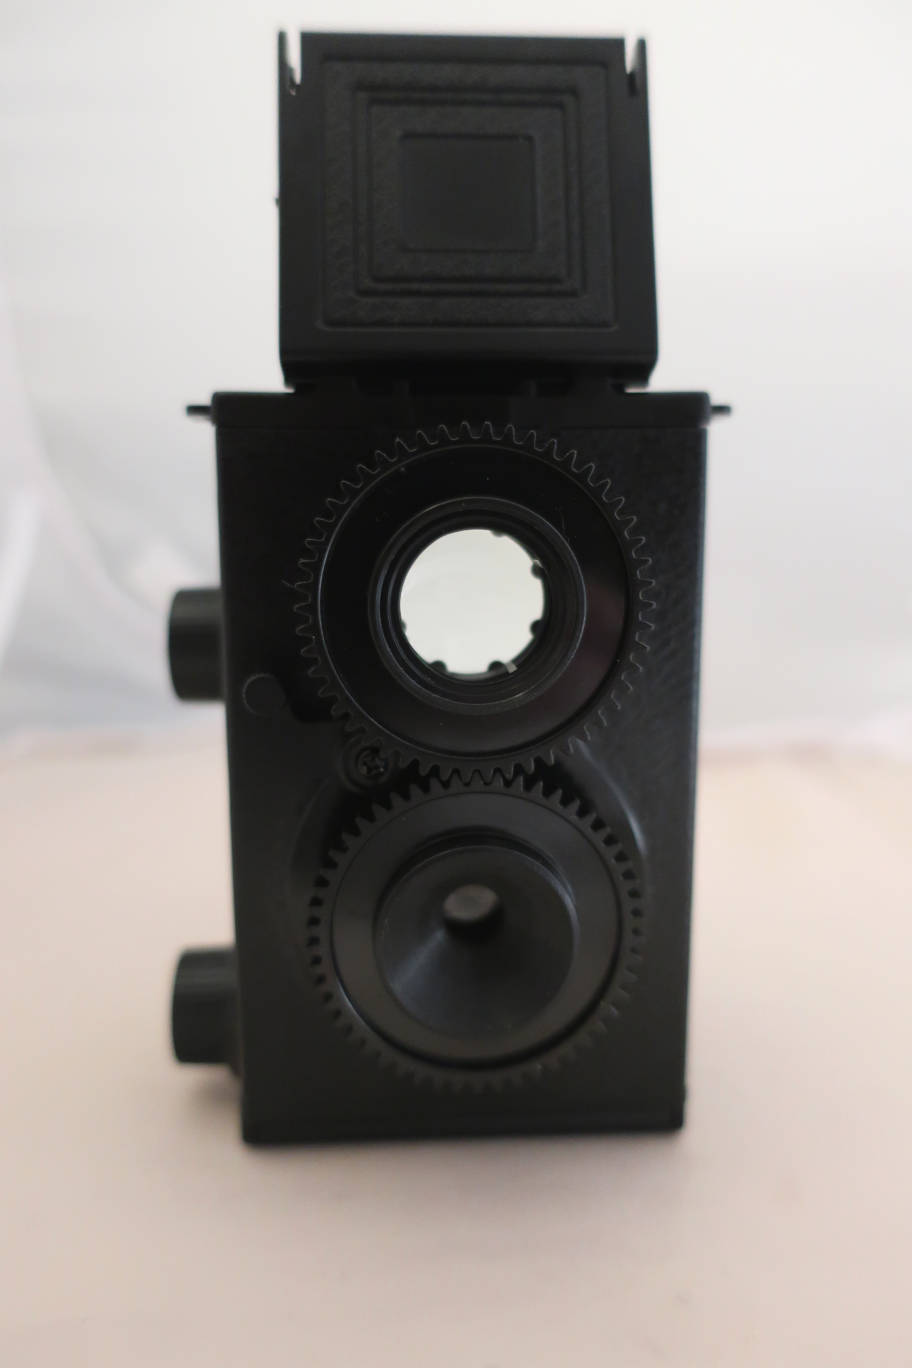
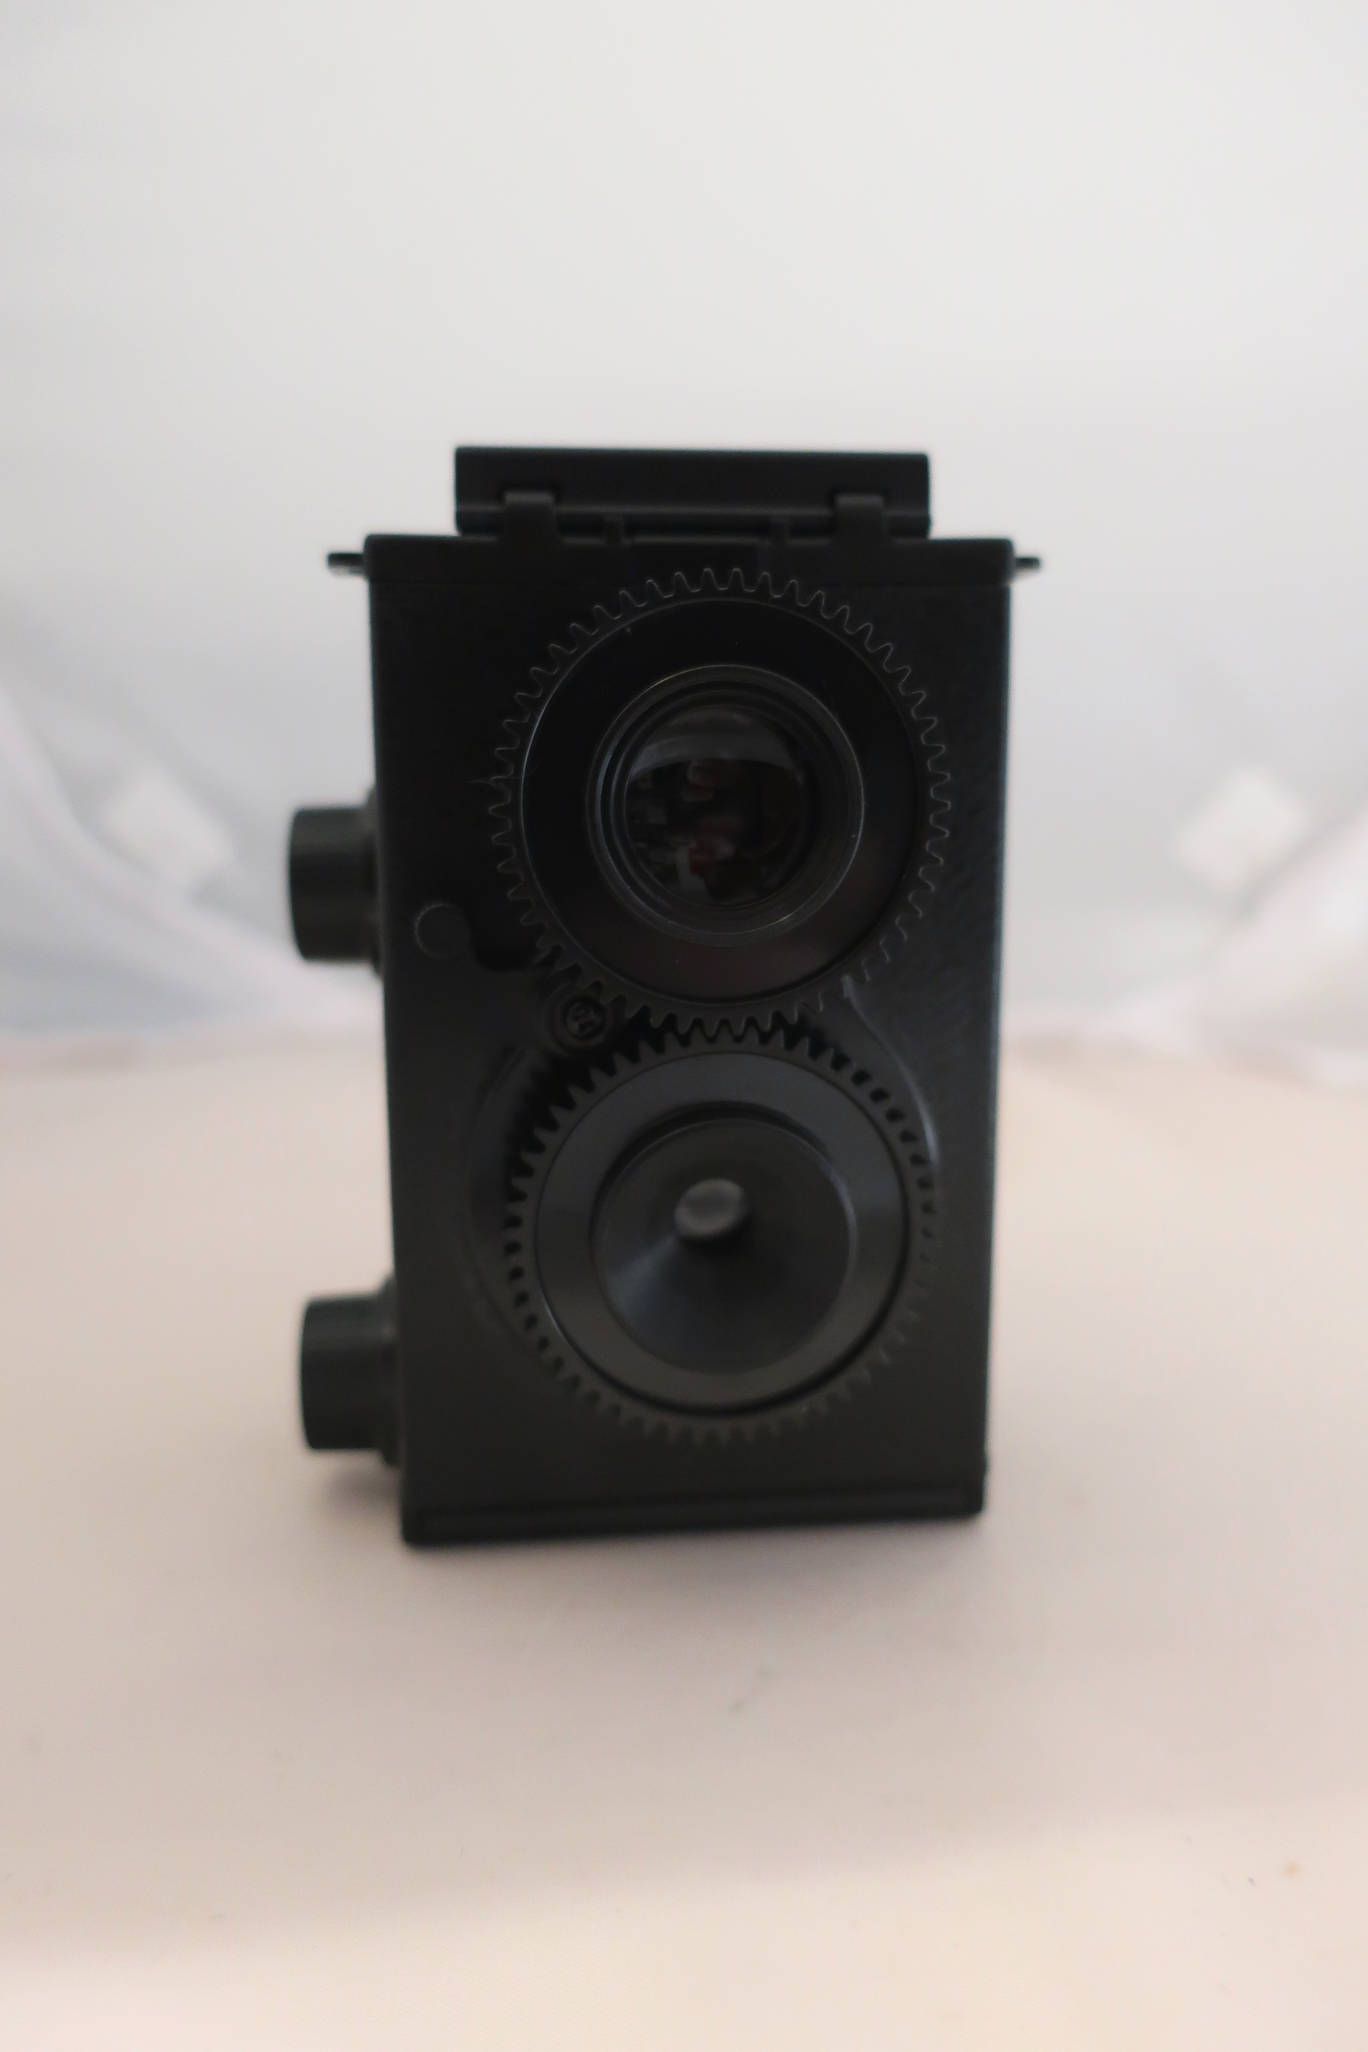
Camera
front. 2 lenses attached to each other for focussing. Shutter release.
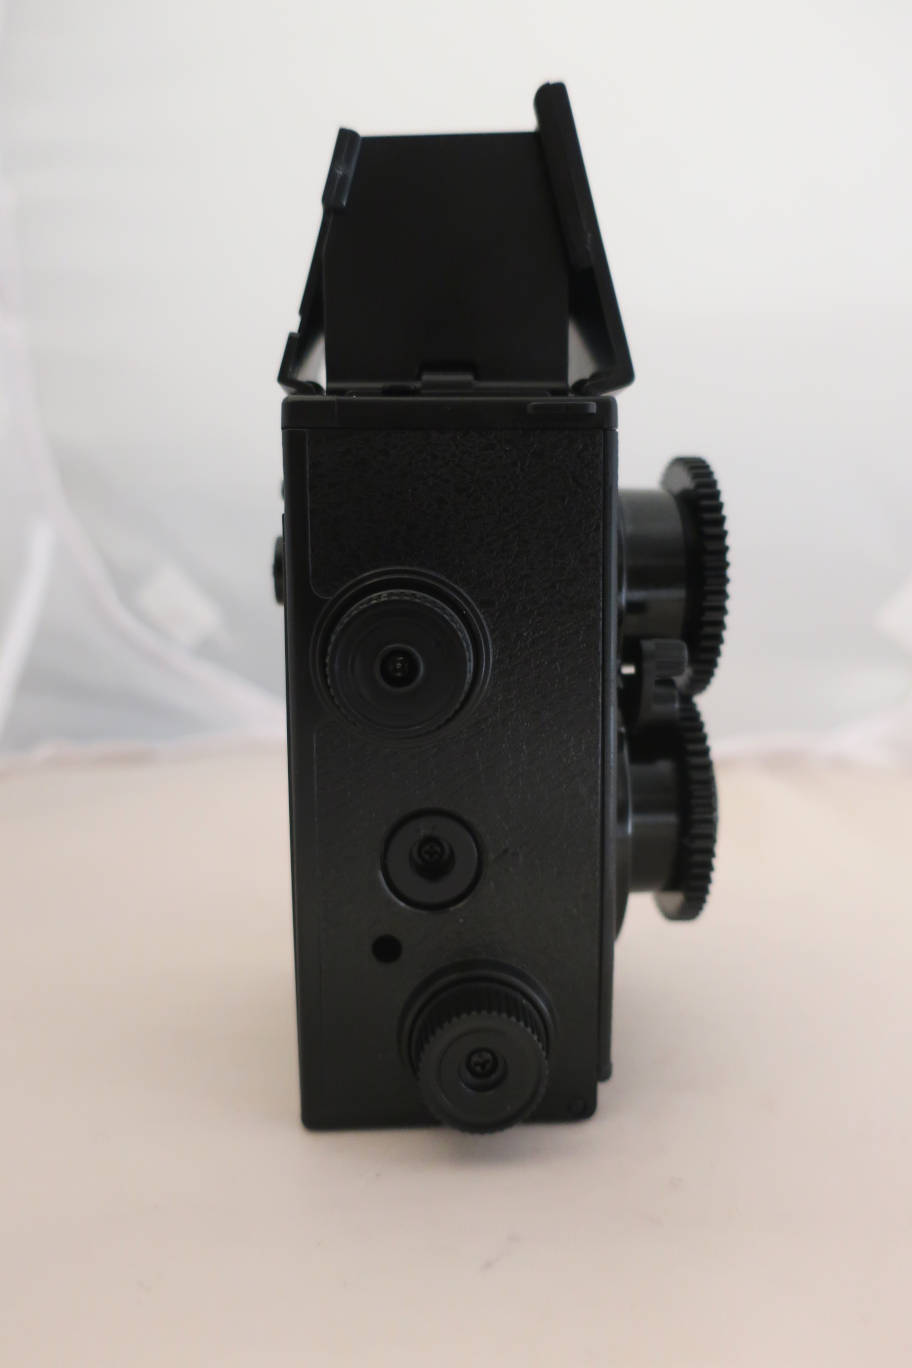
Left side. Film advance knob. Advance marking wheel, half a
turn of the marking wheel meets one of the pointers and tells you the
the film moved for the next picture. Rewind knob.
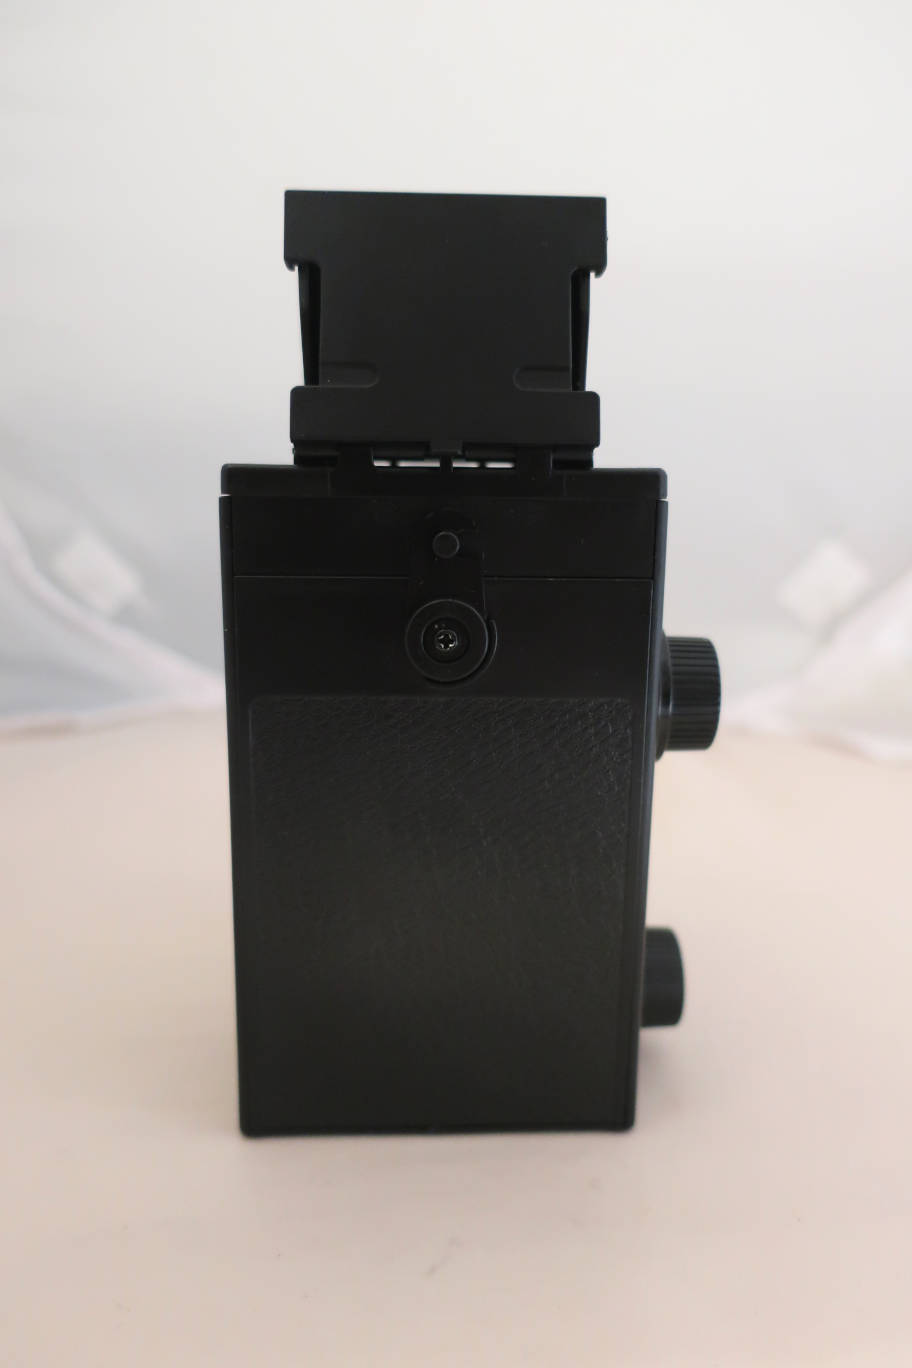
Camera
back. Hook to close the back.
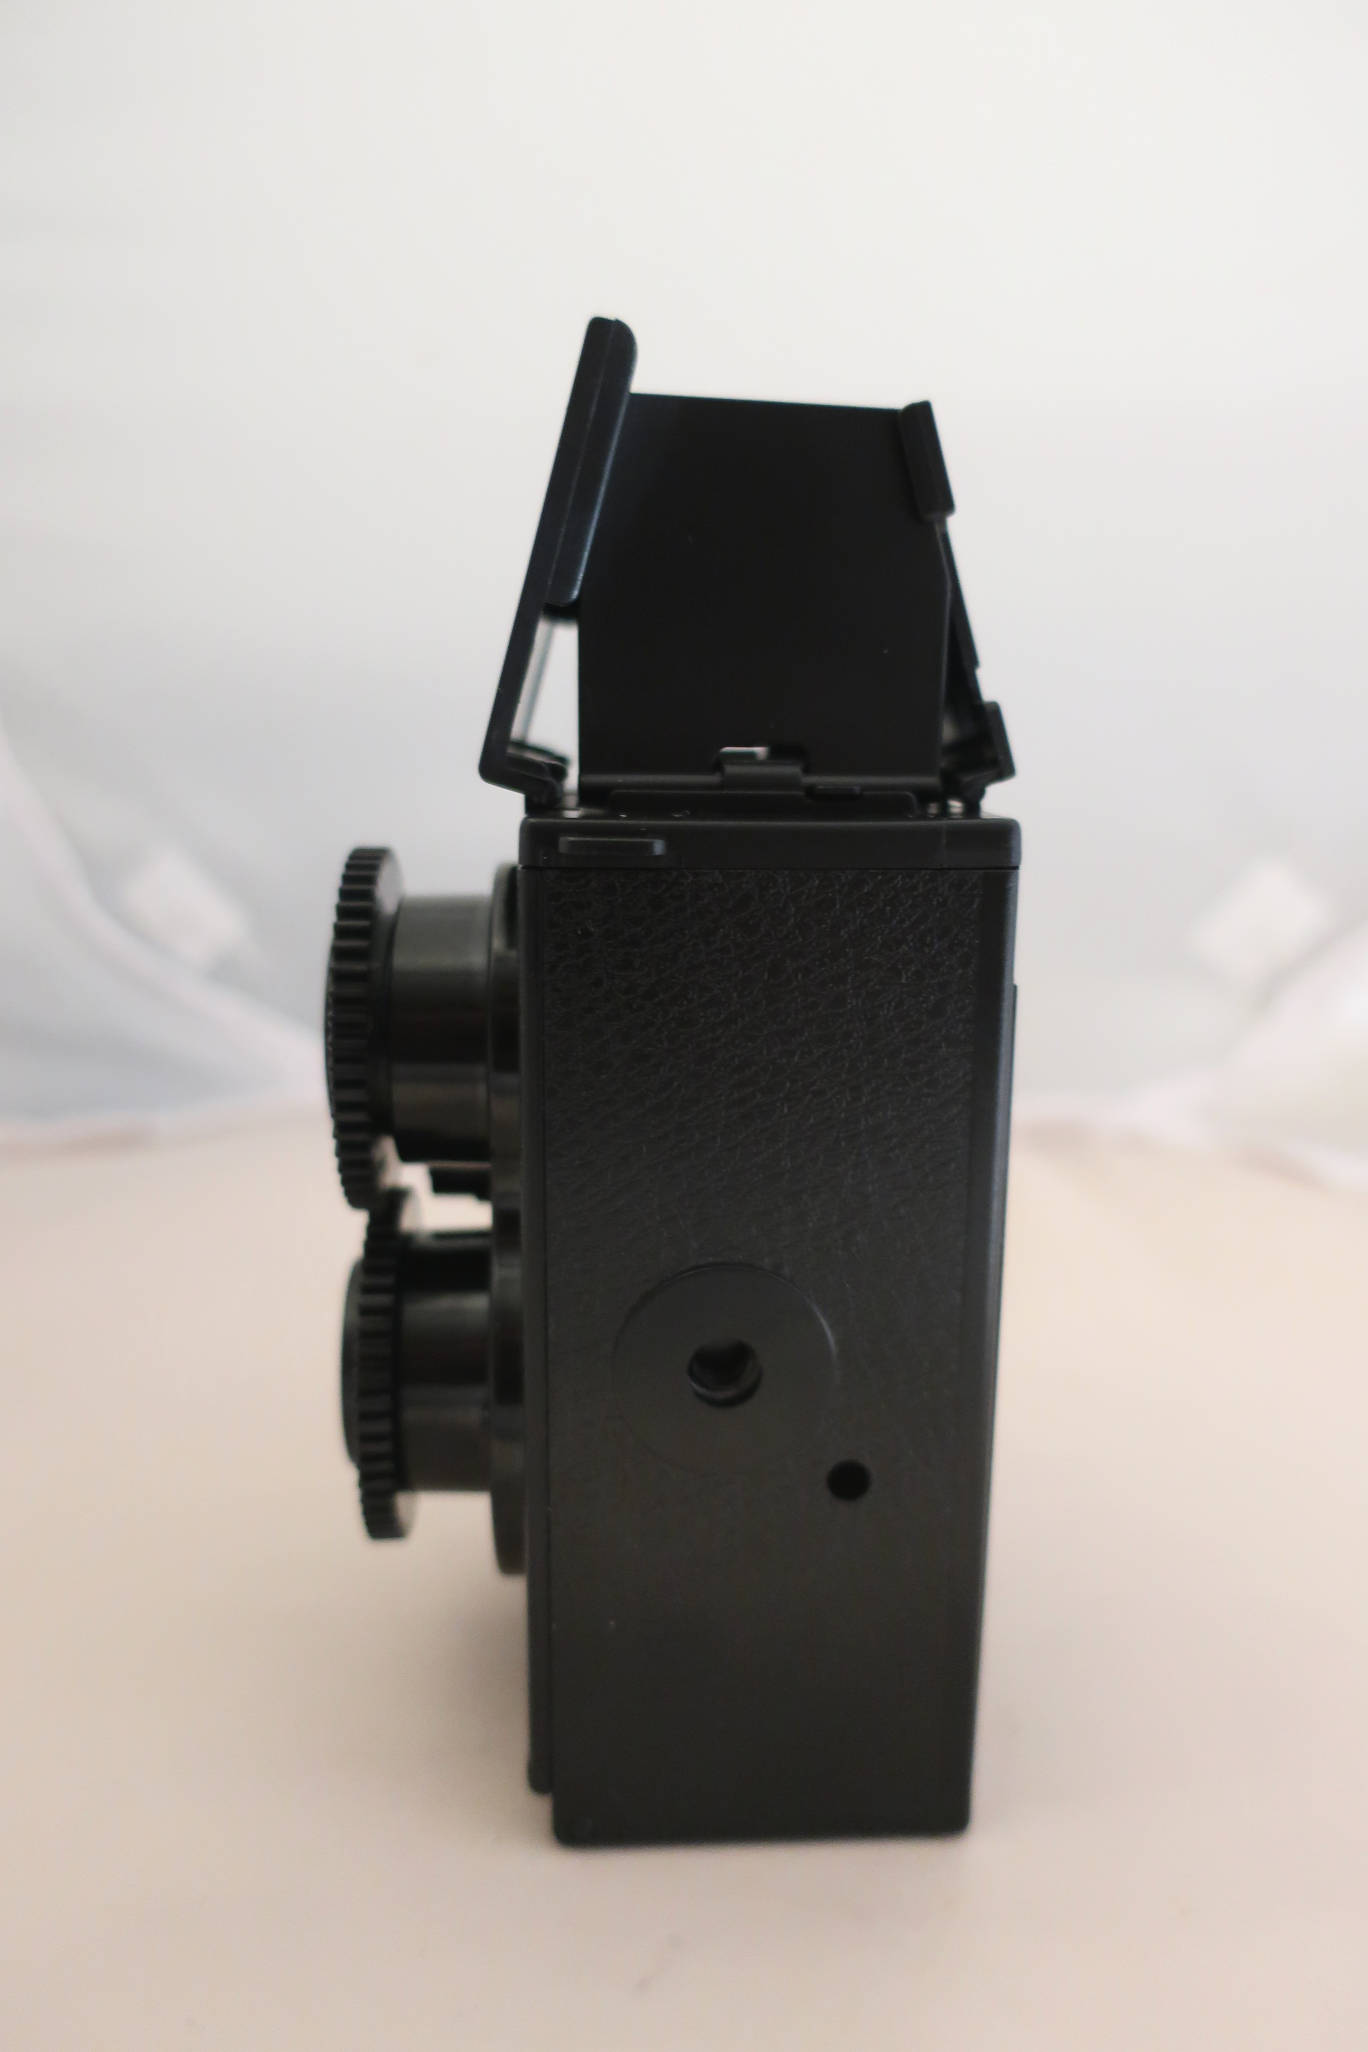
Right side. Tripod socket.

Camera top. Viewer..
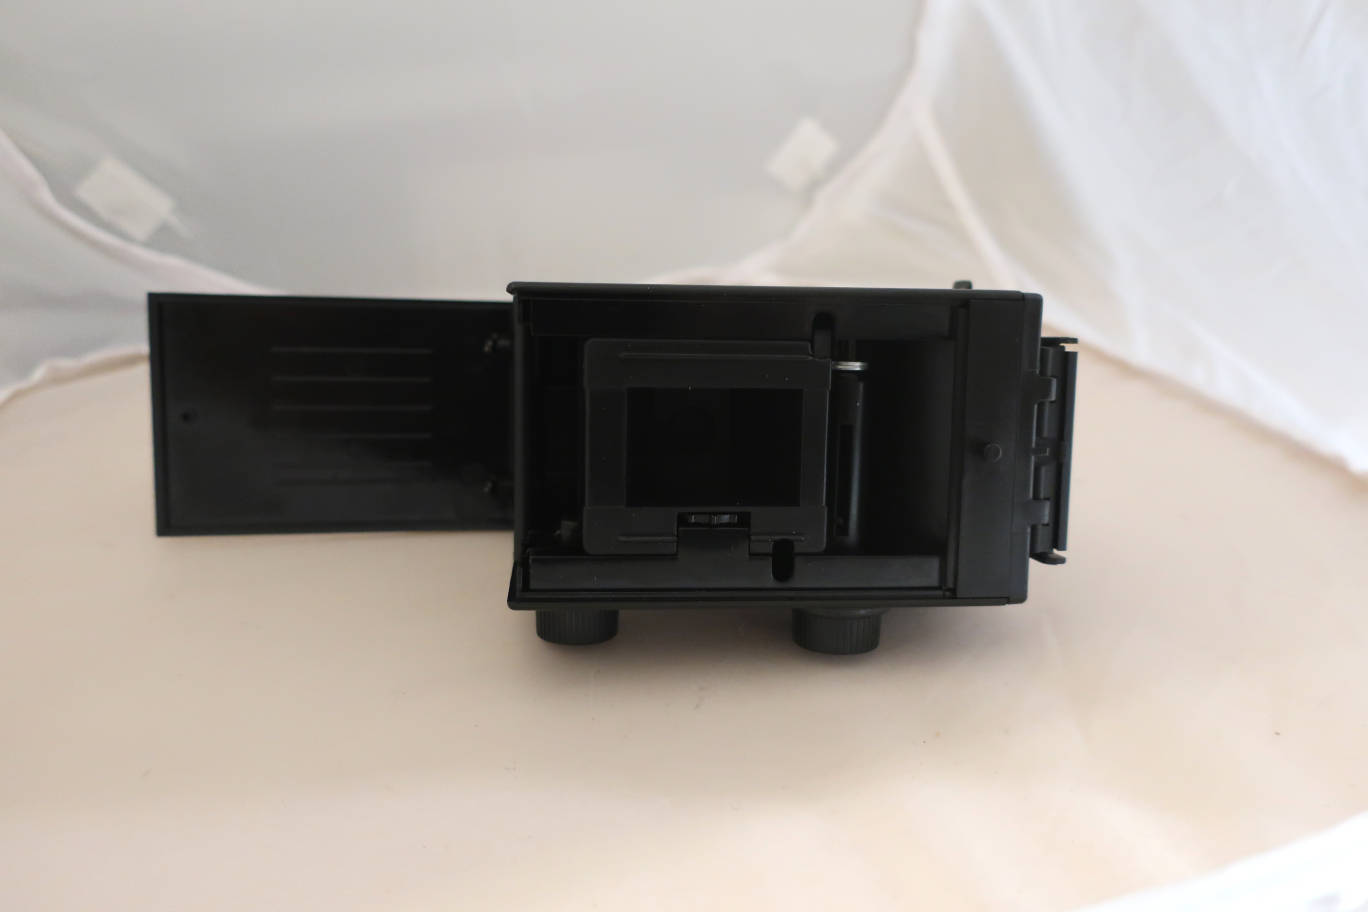
Camera back open.
Putting a film isn't very complicated, you put a 35mm canister at the
bottom of the camera, tear the film across the film plane and hook the
film start onto the little hook in the advance spool. make a turn or 2
to secure the film and check whether the sprockets of the film hit the
dents of the advance control wheel. Then shut the back and advance 3
half turns of the control wheel.
On my camera the advance control wheel did not turn well. I put several
layers of tape on the back flap in the area of the counter. If I press
now the back flap shut when advancing, it works well. Shooting is easy,
you open the viewer, focus and press the shutter. Do not forget to advance. Because of the
absence of apertures and shutter speeds it can only be used outside,
with ISO 200 film on bright days and ISO 400 on dull days.
I only had
a 200 ISO film at hand. As it was dull weather, it should have been 400
ISO. The photos are under-exposed (would have been fine with 400 ISO),
but you can well see what you will get. Kodak Gold film, neutral scan
and no post-treatment except one. The all-over results were better than
expected. The shutter only failed once. Spacing is quite even.
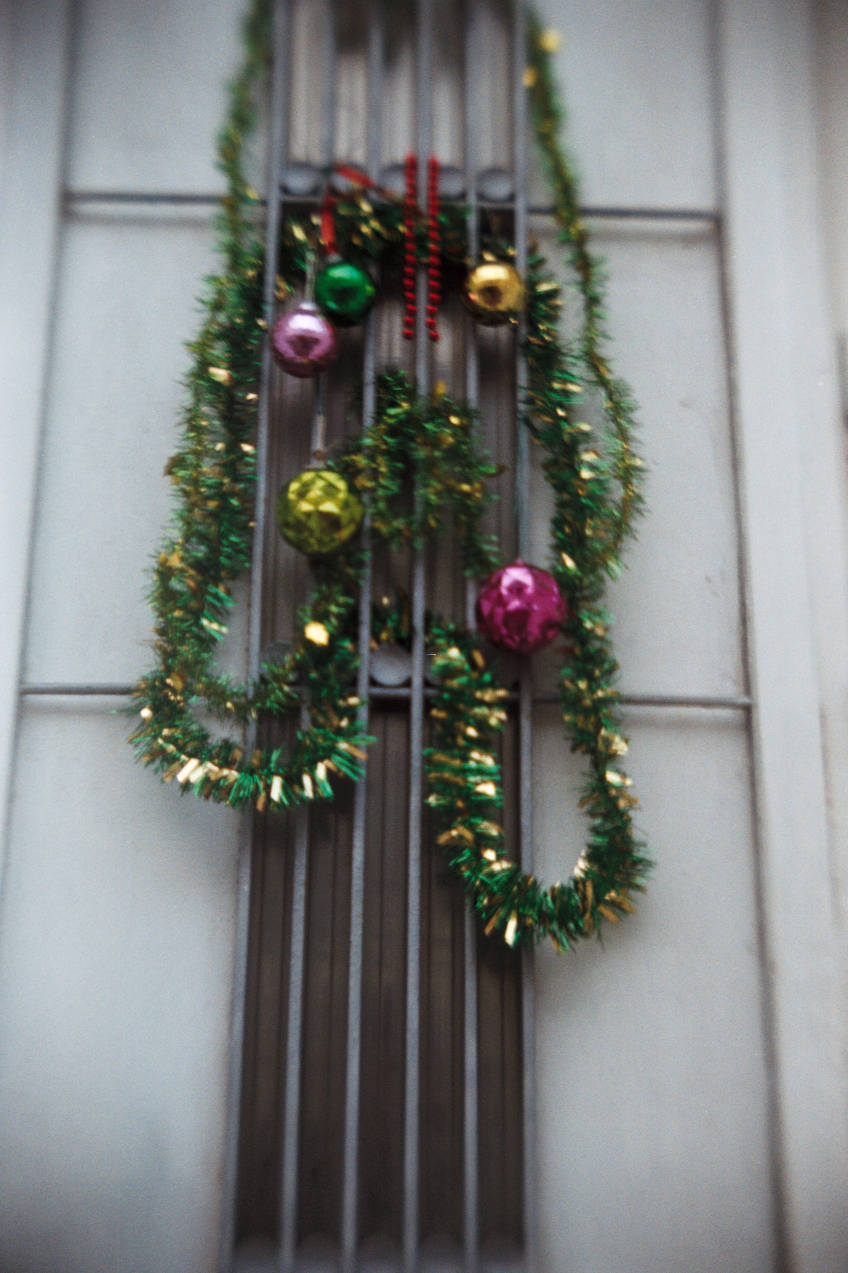
Focus on the end of the garland, ~ 1.5 m. A bit of vignetting.

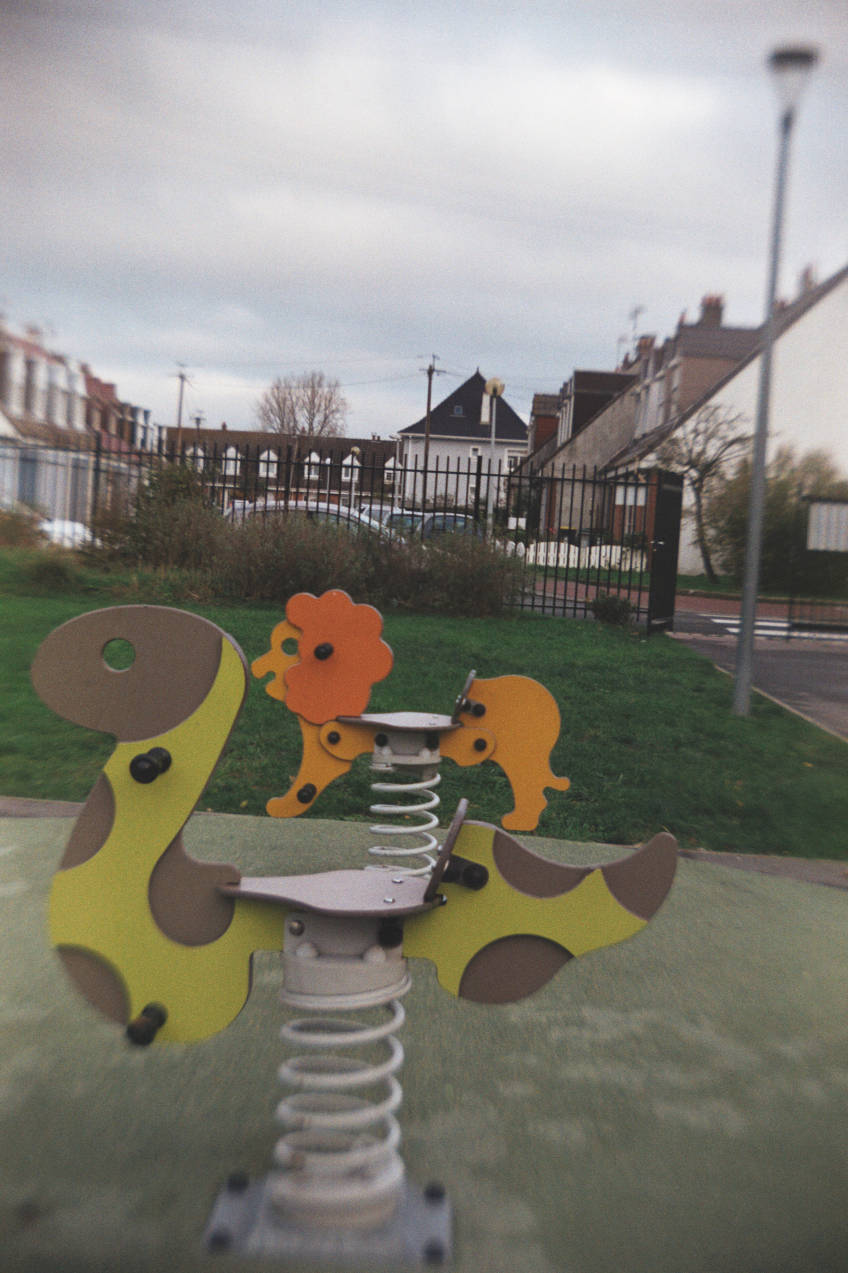
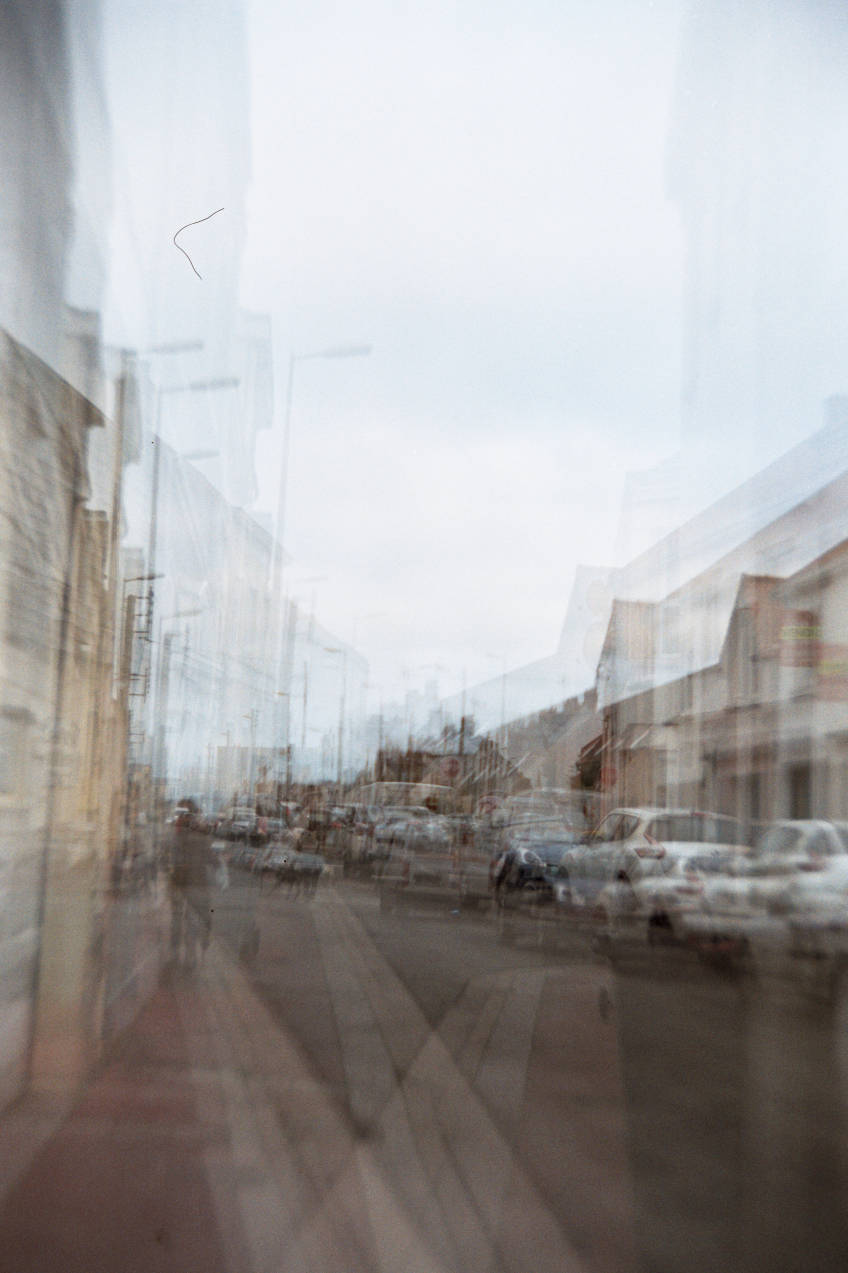
Calais, quartier Mollien. ∞, a bit soft towards the edges, which is fine for a meniscus lens.
Calais, quartier Mollien. ~ 2.5m, soft towards the borders.
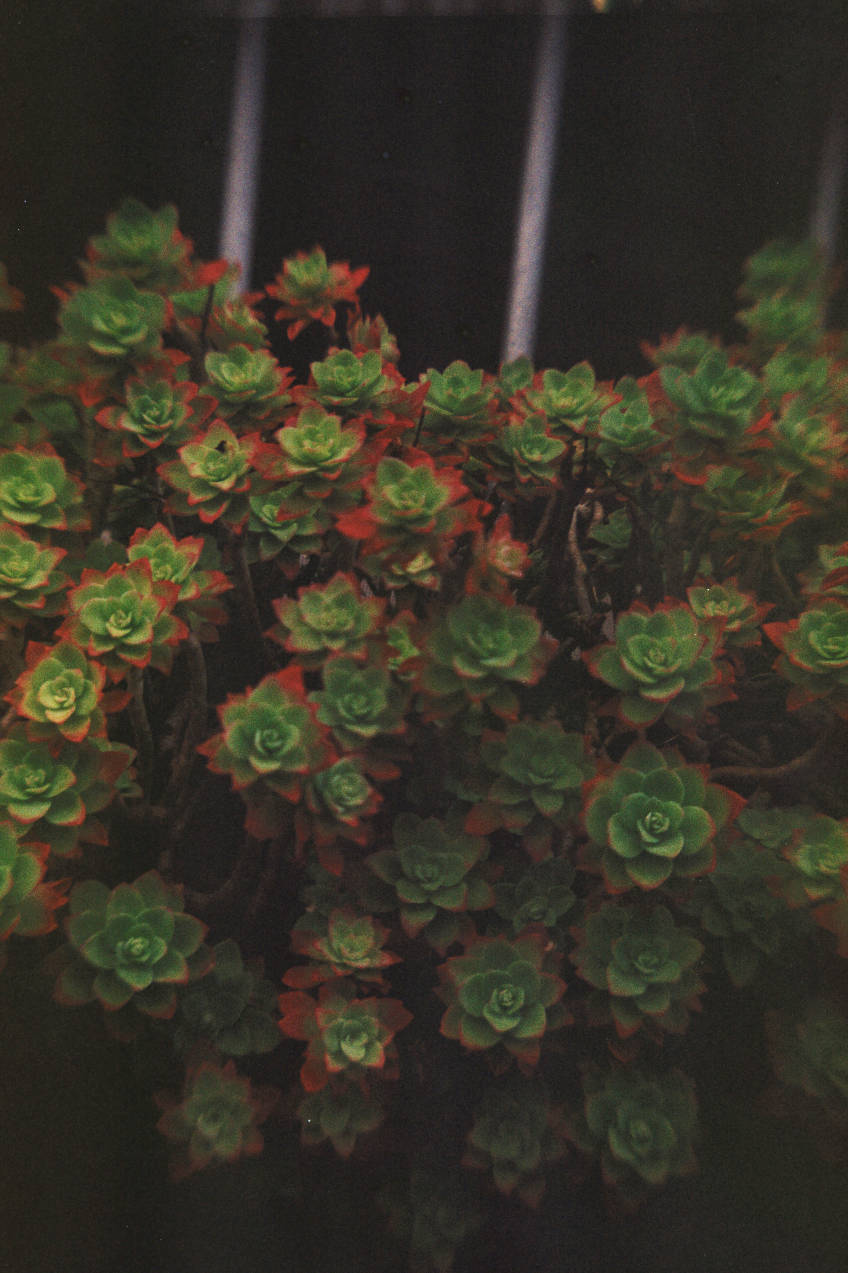
As near as 50cm. As the plants were in the shade, the photo was widely underexposed. I augmented the contrast of the scan.
Triple exposure. Looks like a cubistic painting.
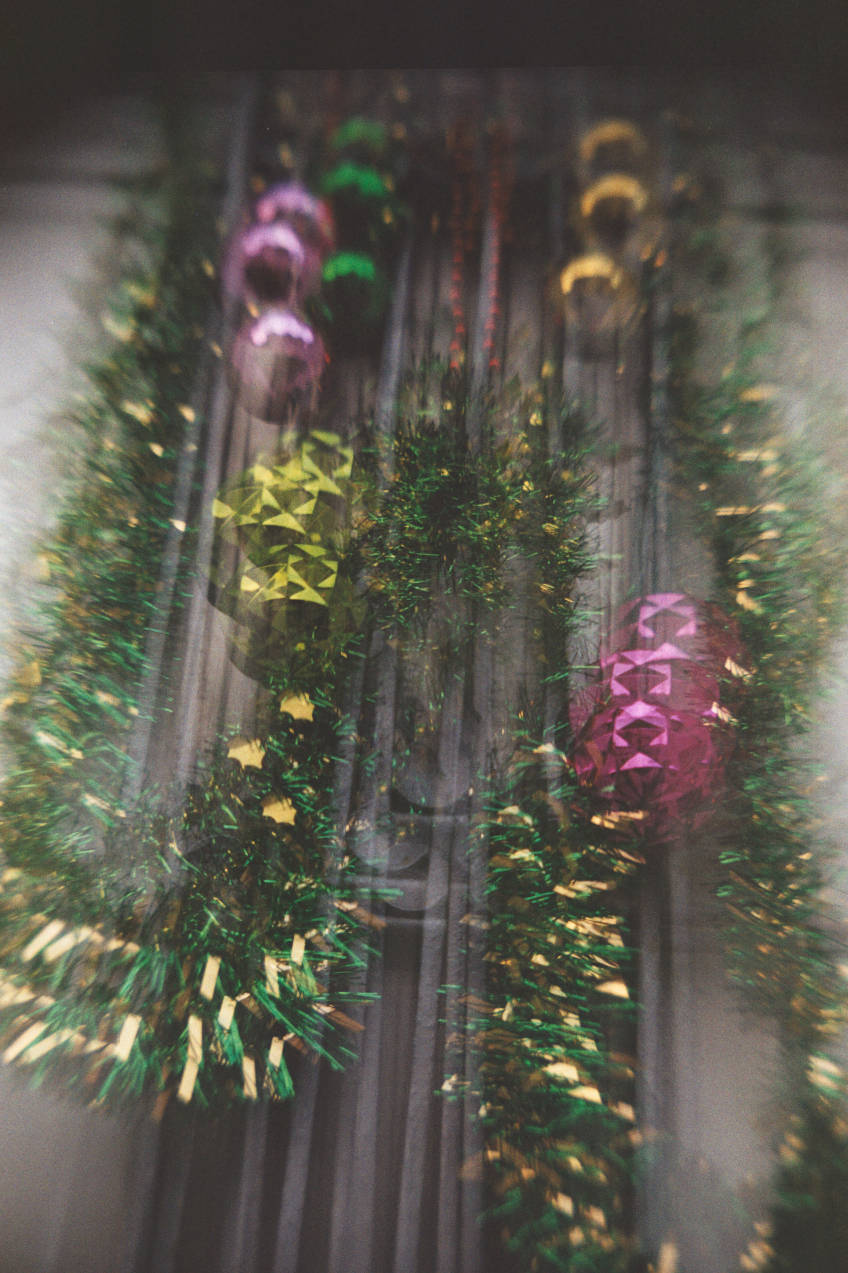
Triple exposure again. Nice effect.
Only after exposing the film I realized that on my camera you can trick
the shutter into a kind of B exposure: if you lower the shutter lever
very slowly until you hear a click (and not further) which is about
half way, it doesn't open yet. If you then let the lever cautiously come back to
abourt 1/4 and hold it there, the shutter stays open. Try with the back
of your camera open if you can find the points. I will try another film
next year.
The camera is easy to use, no settings except focus. Because of the
absence of apertures and shutter speeds it can only be used outside,
with ISO 200 film on bright days and ISO 400 on dull days. Building it
is fun. The set is still availble on their website at www.franzis.de.